C4D Substance Painter使用技巧视频教程 软件组合使用教学 附源文件
 格雷尔的小剪刀
2019-7-11 14:26
浏览量:1841
回复量:3
格雷尔的小剪刀
2019-7-11 14:26
浏览量:1841
回复量:3
In this series, I go through my procedure for taking a model from Cinema4D, preparing it for Substance Painter, doing everything we need to paint it and create all our maps in Substance Painter, and then bringing it back into Cinema4D to take advantage of the physically-rendered properties that we created.
It was a lot of fun and I hope you’ll join me and learn a couple of new things!
Chapters:
01: Spanner Setup
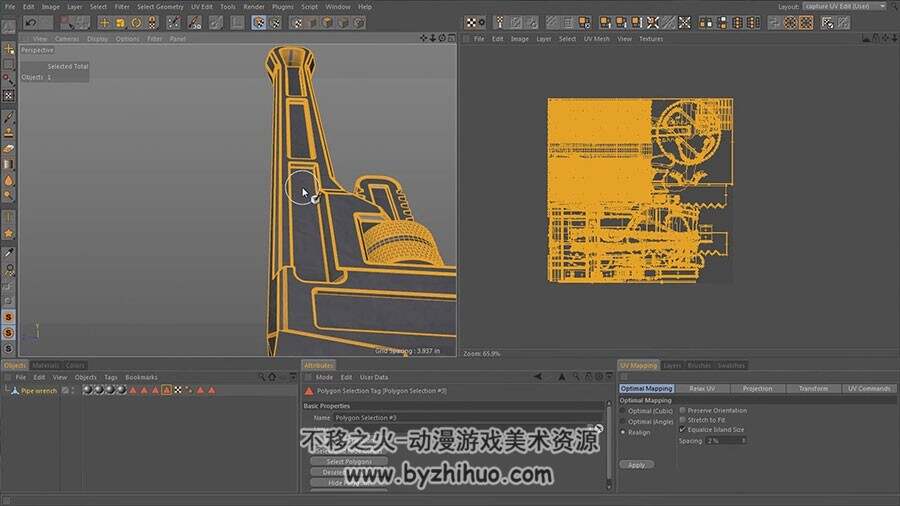
In chapter 1, we set up a simple asset to be painted in Substance Painter. We start by collapsing a model to a low-res polygon object. To get the best results out of Substance Painter, you have to make sure your model has a nice UV layout with no overlapping. We’ll use a variety of polygon selection tools, such a loop, ring, grow, fill, and UV tools, such as UV-peeler and relax, to create a packed UV page. Then we’ll export both a high-res and a low-res polygon version.
02: Spanner Paint
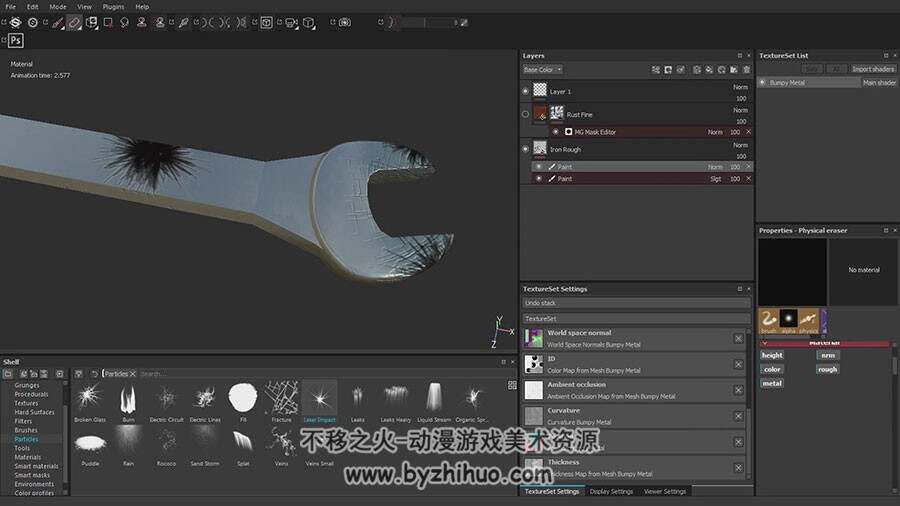
In chapter 2, we open up Substance Painter and we create a new project, with which we add our new, low-polygon object. We’ll familiarize ourselves with the different managers: the shelf, layers, texture-set settings, paint properties. And then, using our higher-res mesh, we’ll bake out various maps: ambient occlusion, normal, curvature, etc. Then we add a rough metal preset material to a layer, over which we place a rust material with a mask generator. Then, by fine-tuning our mask, it enables us to dial-in just the right amount of rust. With the additions of more paint layers, we use particle brushes for scratches and surface details.
03: Pipe Wrench Setup Part A
In chapter 3, our next example is a bit more complex. It consists of a symmetry and a few polygon objects. After we collapse our symmetry object, we start with its largest parts and start laying out or UV islands.
04: Pipe Wrench Setup Part B
In chapter 4, we continue where we started, laying out or UVs, using various projection techniques and the relax tool.
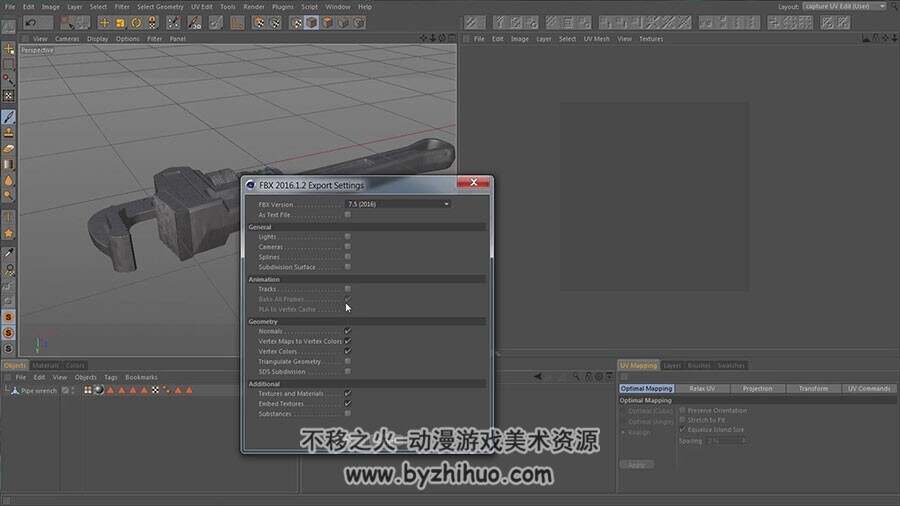
05: Pipe Wrench Setup Part C
In chapter 5, after we collapse the parts to a single object, we arrange all our UV islands together into a single UV page. Then, we’re ready to paint a vertex color map, which will be our color-id-map, once we’ve brought it into Substance Painter via the FBX Export Module.
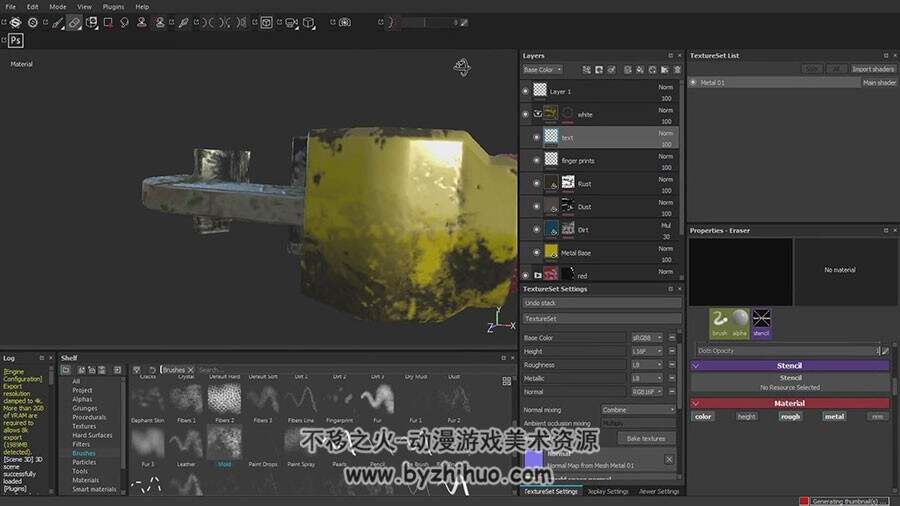
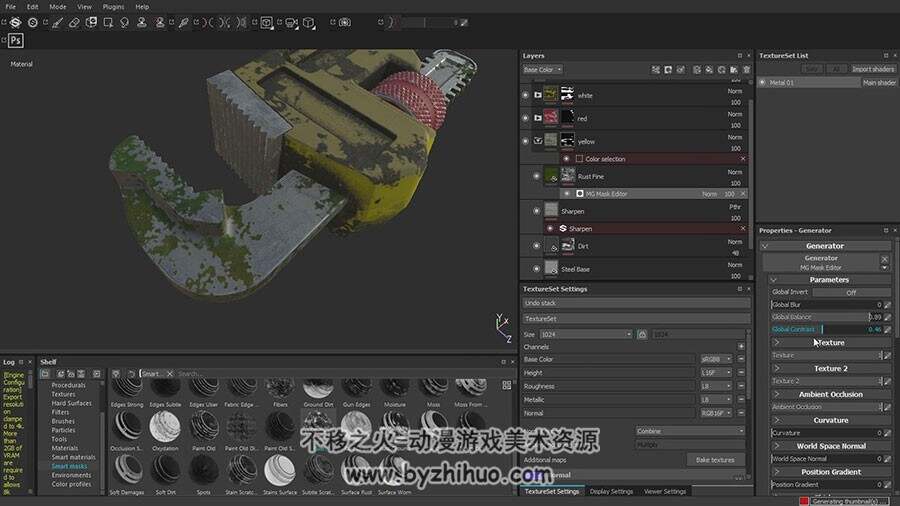
06: Pipe Wrench Paint Part A
In chapter 6, we open up a new project in Substance Painter using our pipe wrench model. After applying some smart materials, we’ll customize them to suit our project. After fine-tuning the sliders of the procedural aspects of our layered material, we’ll get more hands-on with the painting tools.
07: Pipe Wrench Paint Part B
In chapter 7, on an additional paint layer, we’ll use a stencil to create some surface detail. Then we come in with the particle brush and distress it with some cracks and burns. Then we knock it back a little bit with the partial eraser.
08: Pipe Wrench Paint Part C
In chapter 8, finally, we add some text using a stencil, then we bang it up a little bit with the eraser, then we’re ready to export all our maps.
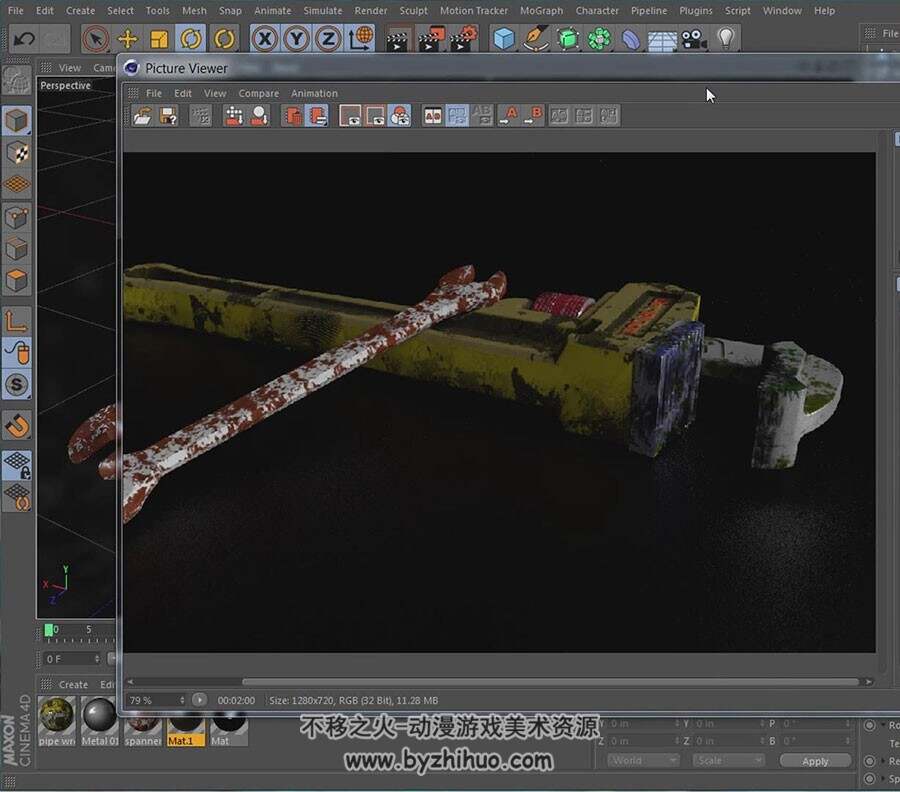
09: C4D Materials
In chapter 9, first we set up our scene to render. We choose the physical render, enable global illumination, then we’ll light it with an HDRI image applied to a sky object. Then we merge in our spanner and pipe wrench, which we previous prepared, and then start building in materials with the maps we created in Substance Painter. And then, finally, we do some test renders to enjoy the fruits of our labors.